If you want to use a content node as the source for your newsletter you can use the custom data type that was introduced in Newsletter Studio version 1.3.2. This can be very useful if you for example stores all newsletters as content on your website. This means that you don't have to copy and paste the text - just send it directly from the content section.
Or if you don't want to give your editors access the Newsletter Studio section, you could use the data type-approach and then remove their access to the section so they only send letters using the data type.
To use the data type, open up the settings section and choose the document type that you want to use for sending the newsletters.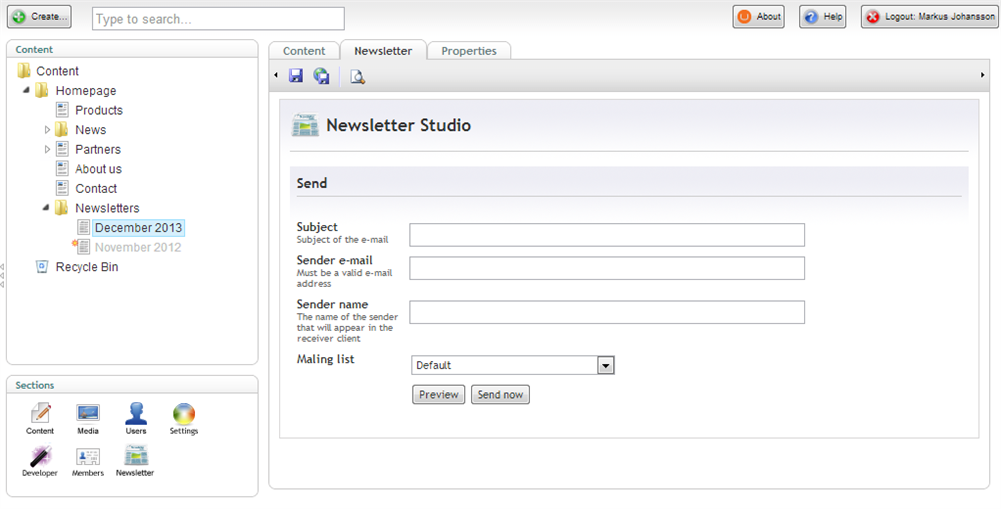
This is how the newsletter-tab will look on your document type.
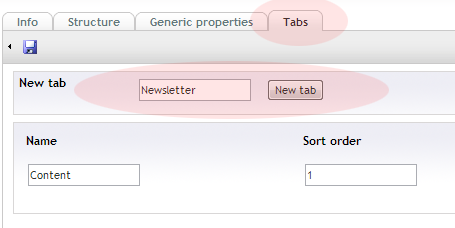 good practice is to add a new tab, ie. called "Newsletter" and then add a new generic property of the type "Newsletter Send Out" to that tab so that the newsletter data type will have its own tab.
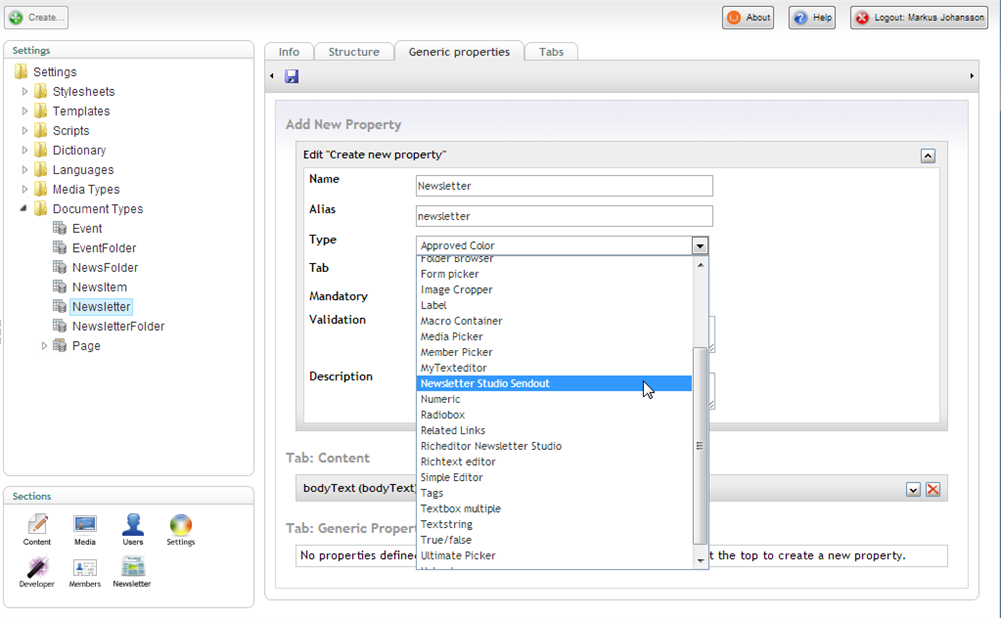
This is how you add the generic property to the new tab
When you jump over to the content section you will now see a new tab when editing nodes of the modified document type. If you click the preview button you'll see that the content of the newsletter will be exactly the same as if you where to view the public webpage - but there is a good solution.
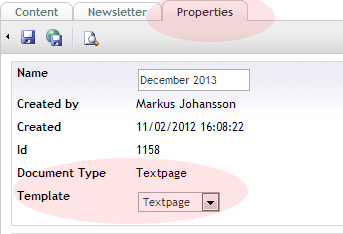
The template used to render the e-mail is by default the same used for rendering the public webpage, but this can be overridden. Add a new template in you settings section, use the same name as template that you want to override but add "Newsletter" in the end. So a "Textpage" template, would be called "TextpageNewsletter". Newsletter Studio will now use the "Newsletter"-post fixed instead.
Newsletter Studio lets you handle lists of subscribers using different mailing lists but it also supports sending newsletters to members in the Umbraco membership-section. Add/remove/edit a subscriber It's easy to add/remove/edit subscribers using the dashboard found by clicking on a subscription in…
To create a new Newsletter just right click the newsletter icon in the tree and click "Create", or if you have existing letters, right click them and choose "Create new from this" to use the old newsletter as a template. The editor Newsletter Studio uses the same rich text editor as the rest of Um…
When you are done editing the newsletter it's time to send it. Click the "Send e-mail" button in the toolbar. This brings up the "Send newsletter dialog".Here you can choose to: Send out a test - Sends a test to one e-email Send the newsletter now - Sends the letter right away to the selected recei…
Newsletter Studio doesn't send the message out in the blue. It tracks everything that happens. If it's opened by the receiver, if any links where clicked or if the receiver decided to unsubscribe. You can even see the number of open letters hour per hour during the first week after send out.All news…