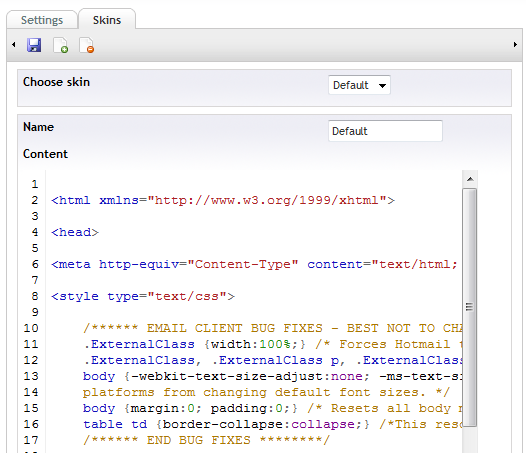
In the settings section you'll also find the "Skin"-tab. A skin contains the overall layout of the newsletter and might include headers, standard footer and so on. The skin and the message content will be merged by the rendering engine.
There are a couple of tags that you can use in your skins/messages to make them more dynamic.
[content] - This is the placeholder for the content from the Newsletter. This is the only tag that's mandatory in all skins.
[name] - Will be replaced with the subscribers name.
[email] - Will be replaced with the subscribers e-mail.
[unsubscribe] - Will be replaced with the URL to unsubscribe.
[readonline] - Will be replaced with a URL to read the letter online.
Name, email, unsubscribe and readonline can also be used in the rich text editor when composing the newsletter. If you need something else, like a tag for other personal information or a maybe to render product information when [product:23544] appears, consider implementing your own render task.
The installation is extremely simple, just go to the developer section of your back office, click packages/packages repository and search for Newsletter Studio. Once you find it, just click install.The installation will automatically take care of all the setup and configuration the only thing you n…
If you prefer you could set all your settings directly in the /config/newsletterStudio.config-file in the Newsletter Studio folder or use Settings-section in the back office. Outgoing e-email settings Newsletter Studio supports multiple SMTP-servers and will spin over all of them during send out. …