Our email editor comes with a powerful Rich Text Editor powered by Tiptap. To give you full control over the editing experience, we've made it possible to configure the editor to suit your project’s specific requirements.
As a developer, you can define which extensions are enabled, adjust settings, and customize the toolbar to match your content model or editorial workflow. Whether you're aiming for a simplified interface or want to expose advanced formatting options, the configuration is flexible and fully under your control.
Umbraco ships with Tiptap as it's core Rich Text Editor, to follow this guide we expect that you have the basic knowledge needed to create Backoffice Extensions and that you understand how Tiptap is integrated into Umbraco.
A fewer important points to keep in mind:
tiptapToolbarExtension used to add toolbar items (buttons and other elements)tiptapExtension used to load Tiptap Extensions that's not shipped with Umbraco by default.Newsletter Studio reuses the Tiptap-implementation from Umbraco, which means that we have to provide a Umbraco-specific configuration. This configuration is the same configuration that is needed when the Tiptap used in a Data Type.
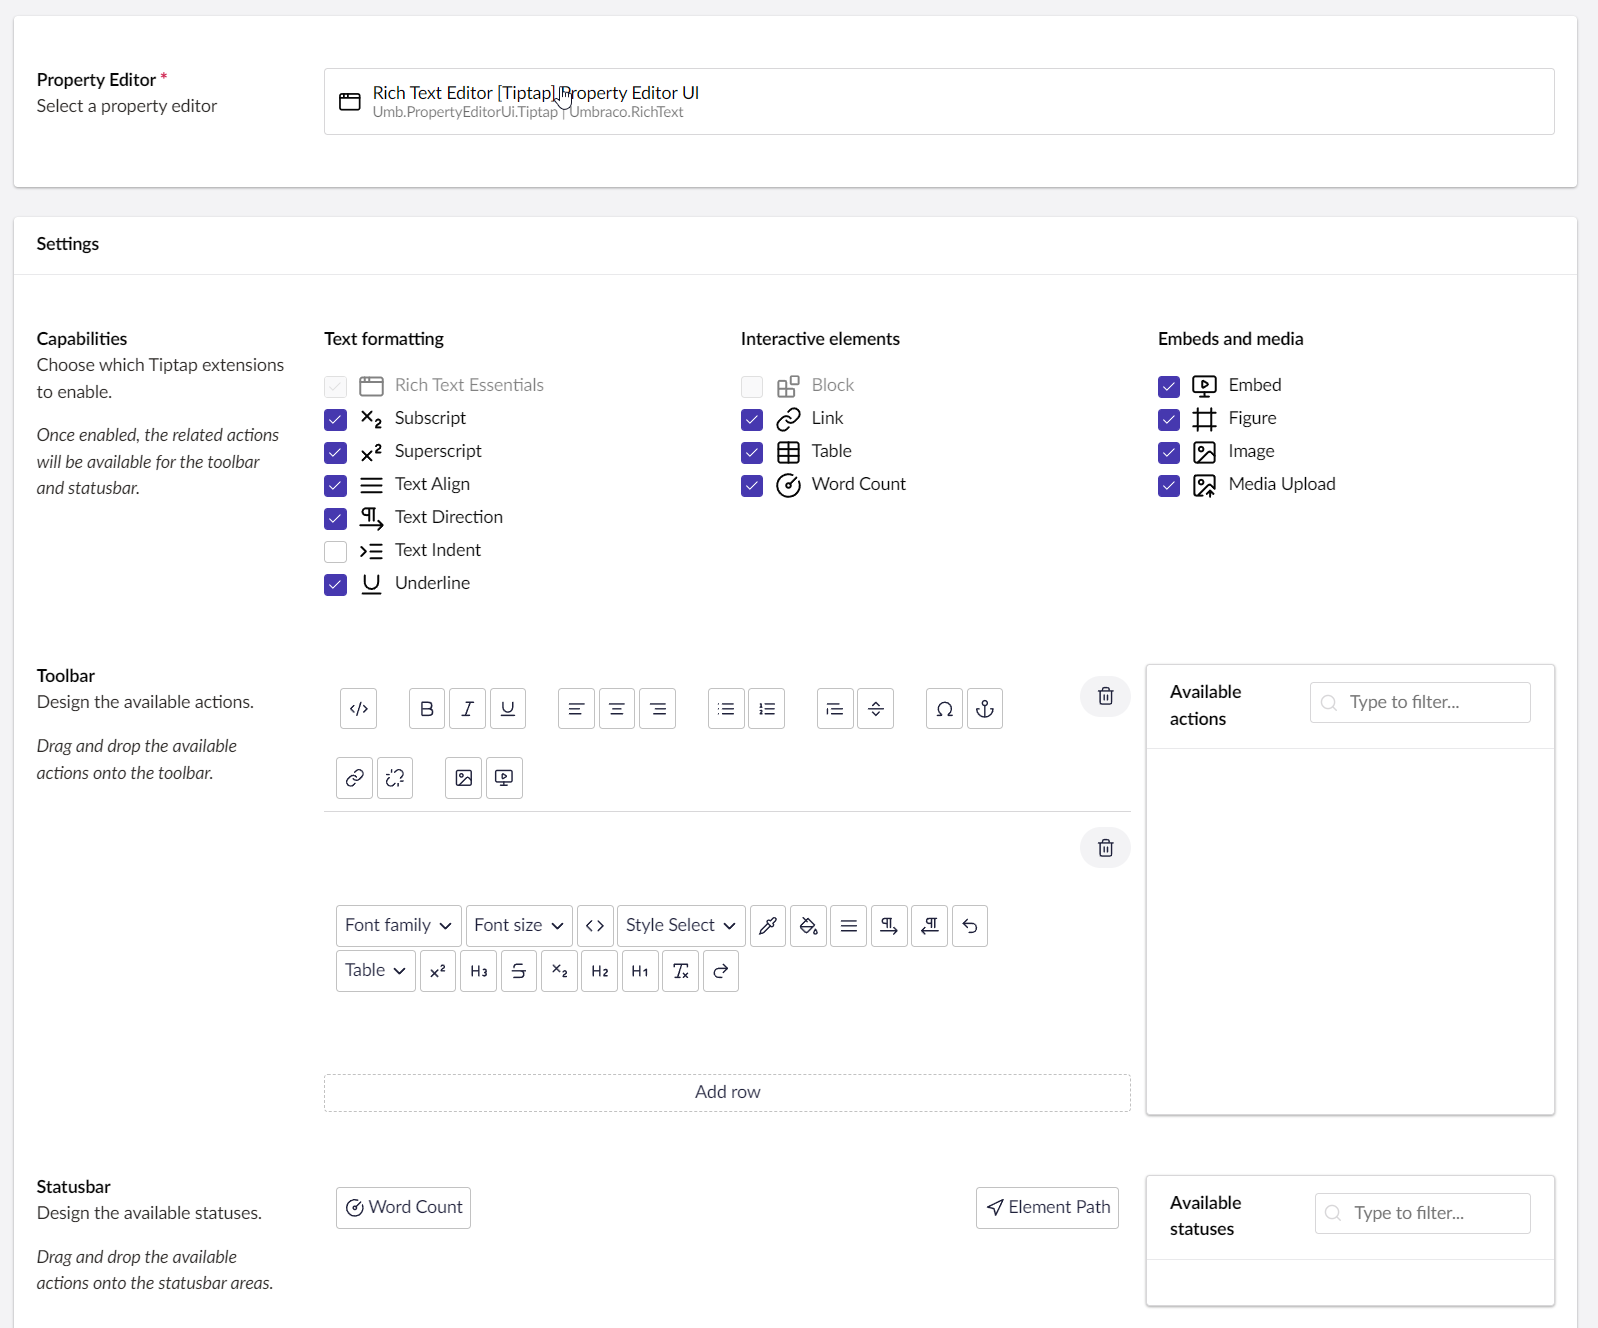
Newsletter Studio comes with a default configuration, but we provide a Umbraco Extension Type called nsTiptapConfiguration that allows you to customize or replace the default configuration for Tiptap.
The extension requires a implementation of the interface NsTiptapConfigurationSource, for example like this:
import { UmbPropertyEditorConfigProperty } from "@umbraco-cms/backoffice/property-editor";
import { NsTiptapConfigurationSource } from '@newsletterstudio/umbraco/extensibility';

export default class DemoNsToolbarSource implements NsTiptapConfigurationSource {

  /**
   * Provides an array of editor config properties for Tiptap when used inside Newsletter Studio.
   * @param defaults The default configuration for Newsletter Studio
   * @returns
   */
  async getConfiguration(defaults: UmbPropertyEditorConfigProperty[])
  {
    // In here, we can return a fresh array of configs or modify the defaults.

    let configs = [...defaults];
    let toolbar = configs.find(x=>x.alias == 'toolbar')!;
    toolbar.value = [
      [
        [
          "Umb.Tiptap.Toolbar.SourceEditor",
        ],
        [
          "Ns.Tiptap.Toolbar.StyleMenu",
        ],
        [
          "Umb.Tiptap.Toolbar.TextAlignLeft",
          "Umb.Tiptap.Toolbar.TextAlignCenter",
          "Umb.Tiptap.Toolbar.TextAlignRight"
        ],
        [
          "Umb.Tiptap.Toolbar.BulletList",
          "Umb.Tiptap.Toolbar.OrderedList"
        ],
        [
          "Umb.Tiptap.Toolbar.Link",
          "Umb.Tiptap.Toolbar.Unlink"
        ]
      ]
    ]

    return configs;
  }

  destroy() {}

}
We also need to register our extension with Umbraco:
const nsTiptapConfiguration : UmbExtensionManifest = {
  type : 'nsTiptapConfiguration',
  name: "Demo Newsletter Studio Tiptap Configuration",
  alias: "Demo.NewsletterStudio.Tiptap.Configuration",
  api : ()=> import('./tiptap-configuration.js')
}

export const manifests = [
    nsTiptapConfiguration
]
The default configuration looks like this:
[
  {
    alias: "overlaySize",
    value: "medium"
  },
  {
    alias: "height",
    value: 900
  },
  {
    alias: "maxImageSize",
    value: 500
  },
  {
    alias: "toolbar",
    value : [
      [
        [
          "Umb.Tiptap.Toolbar.SourceEditor",
        ],
        [
          "Ns.Tiptap.Toolbar.StyleMenu",
        ],
        [
          "Umb.Tiptap.Toolbar.Bold",
          "Umb.Tiptap.Toolbar.Italic",
          "Umb.Tiptap.Toolbar.Underline",
          "Umb.Tiptap.Toolbar.Strike"
        ],
        [
          "Umb.Tiptap.Toolbar.TextAlignLeft",
          "Umb.Tiptap.Toolbar.TextAlignCenter",
          "Umb.Tiptap.Toolbar.TextAlignRight"
        ],
        [
          "Umb.Tiptap.Toolbar.BulletList",
          "Umb.Tiptap.Toolbar.OrderedList"
        ],
        [
          "Umb.Tiptap.Toolbar.Link",
          "Umb.Tiptap.Toolbar.Unlink"
        ],
        [
          "Ns.TipTap.Toolbar.ColorPicker",
          "Ns.TipTap.Toolbar.MergeFields"
        ]
      ]
    ]
  },
  {
    alias: "extensions",
    value: [
      "Umb.Tiptap.Embed",
      "Umb.Tiptap.Figure",
      "Umb.Tiptap.Image",
      "Umb.Tiptap.Link",
      "Umb.Tiptap.MediaUpload",
      "Umb.Tiptap.RichTextEssentials",
      "Umb.Tiptap.Subscript",
      "Umb.Tiptap.Superscript",
      "Umb.Tiptap.Table",
      "Umb.Tiptap.TextAlign",
      "Umb.Tiptap.TextDirection",
      "Umb.Tiptap.Underline"
    ]
  },
  {
    "alias": "stylesheets",
    "value": [
        "/css/Newsletter-Studio.css"
    ]
  }
];